How to sew on a coat button with room to fasten
A button on a thick coat needs a little stem of thread beneath it so the buttonhole layer can slide underneath. Sew a flat button tight to heavy cloth and the fronts may pucker even when the position is correct. If the old button has a molded shank, its built-in loop provides that space.
Scovely editors · November 19, 2026
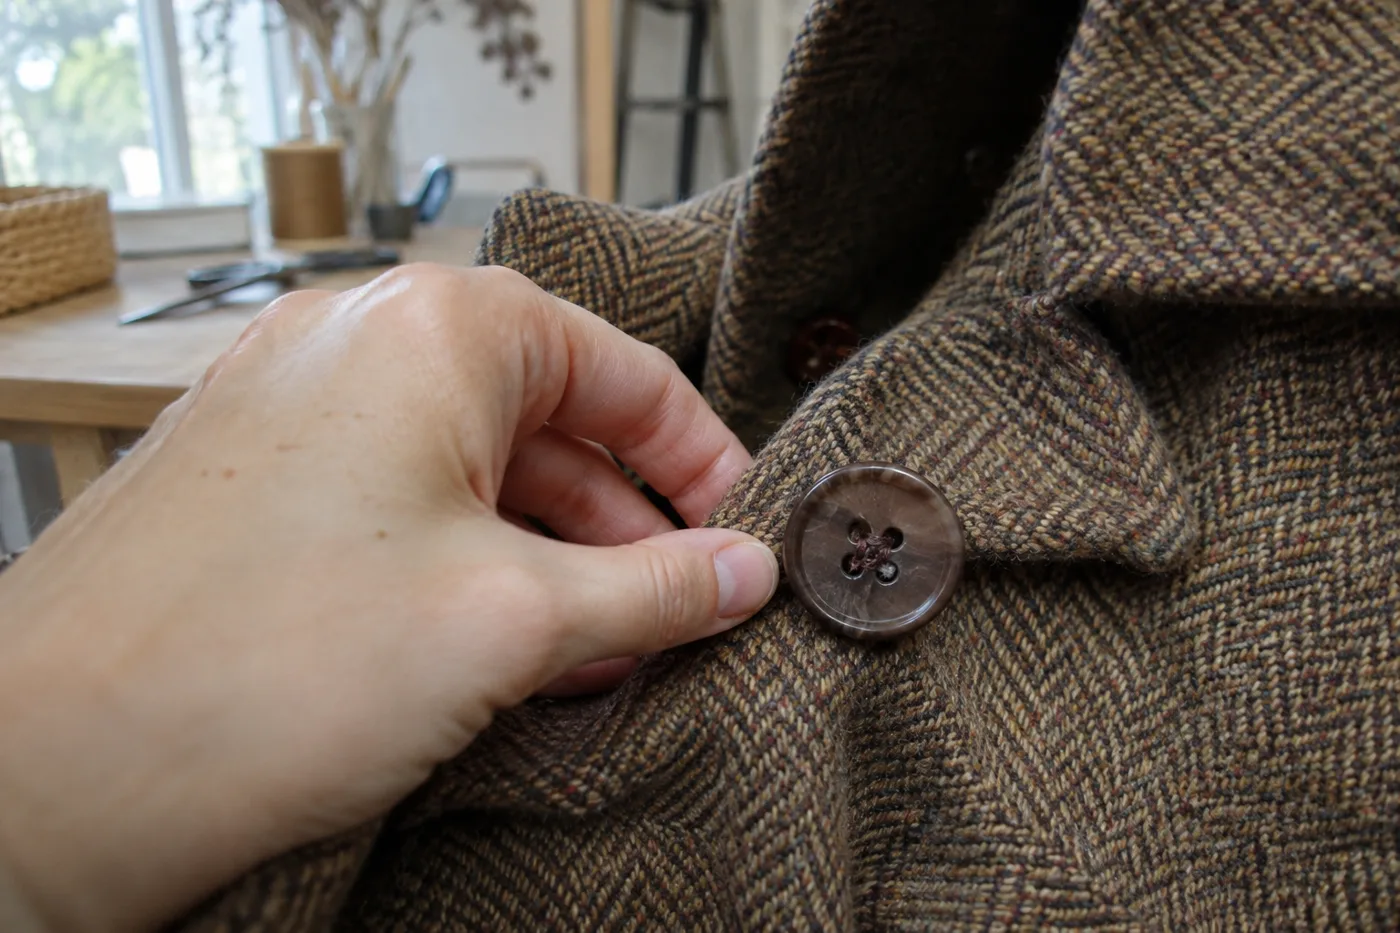
Check the cloth before threading the needle
Close the coat using the neighboring buttons. Lay the loose button at the old position and pass it through the buttonhole. The fronts should overlap evenly. If the earlier stitches tore a hole in the cloth, repair or reinforce that area first. New stitches loaded into the same damaged spot can pull through again. Inspect the buttonhole too; an unraveling end can be the real reason the coat falls open.
Use a needle and strong thread suitable for the cloth, small scissors and the matching button. A small backing button on the inside can spread the load if the coat is built for one. Work out which layers the original stitching caught. On a lined coat, sewing through a free-moving lining can pull the lining tight or leave an awkward thread bridge.
Build the attachment
With the garment off, mark the correct center. Anchor the thread in sturdy cloth where the button will cover the starting stitches. Pass through the holes in the pattern used elsewhere on the coat. A four-hole button can use parallel bars or a cross; matching the others makes a replacement disappear more easily.
For a flat button, hold a narrow spacer between thread and button while stitching, or maintain a little space beneath it by hand. Pass through the cloth and button several times without crushing the coat. Remove the spacer. Bring the needle up between button and cloth, wind the thread around the bundle beneath the button to form the stem, then take it back through the fabric. Keep the stem just tall enough for the buttonhole layer. An excessively long stem makes the button flop and catch.
Secure and test
Anchor the last stitches on the inside near the attachment with small locking stitches. Keep loose thread away from the buttonhole path. Trim the end after you have tested the attachment by hand. For a molded-shank button, stitch through its loop. Don't add a tall wrapped thread stem under a shank that already fits the coat thickness.
Fasten the coat while it is flat, then try it on over the layer you expect to wear. Look for dimples around the button and a diagonal pull from the next fastening. If the button sits smoothly on the table but strains on the body, reassess position and fit. More thread won't create more room.
Replacement details worth keeping
Check the inside pockets and care label for a spare before buying a near match. Compare diameter, thickness and the size of the holes or shank. A glossy button can draw attention even when the color matches a matte set. Keep the removed button and a photograph of the attachment. On a coat with a fragile shell, inaccessible interlining or badly torn buttonhole, a repairer can stabilize the underlying structure before the next winter's worth of fastening.
 Repair bench
 Repair bench
 Fit room