A hand-sewn trouser hem you can actually undo
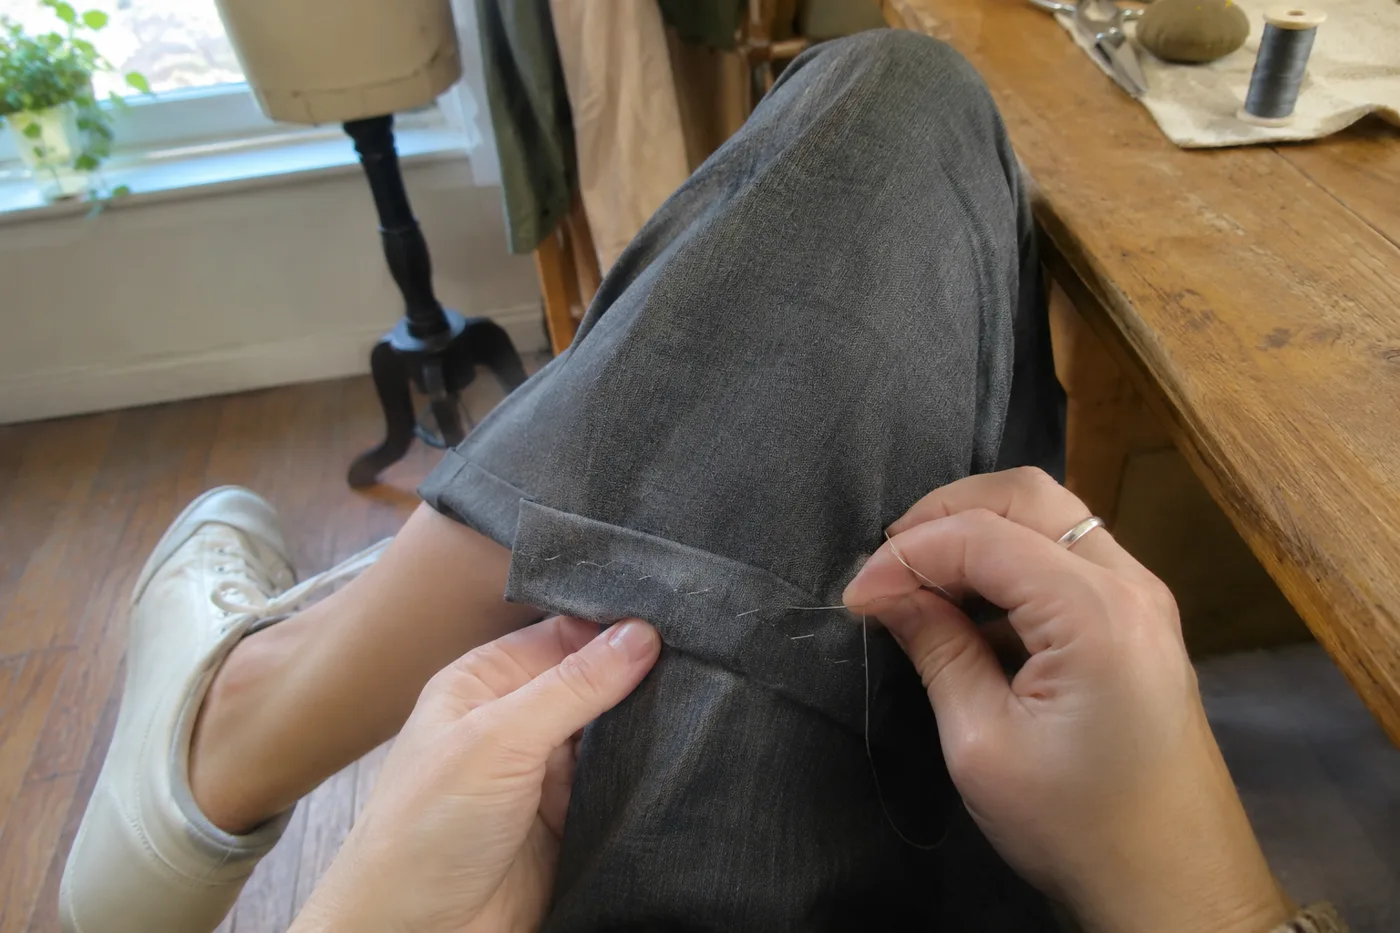
A reversible trouser hem starts with enough cloth inside the garment and stitches you can identify later. Baste the length first, try it in the right shoes and leave the scissors alone until you know whether cutting is necessary at all. A neat fold can be unpicked. Removed length cannot be sewn back without a join.
Scovely editors · November 19, 2026
Preserve the old reference
Photograph the outside and inside of the original hem. Mark the old fold with loose contrasting basting near a side seam if you want to find it again. Release only the stitches that attach the turn-up. A row of overlocking on the raw edge normally stays. On a cuffed or lined trouser, trace how the parts are connected before taking anything apart.
Wear the trousers at their usual waist height with your intended shoes. Ask someone to mark both legs while you stand normally. Pin with the trousers off before walking in them, or use loose basting for the try-on. Check the back length in a mirror. Twisting to look at your heel changes the very length you're trying to measure.
Prepare the turn-up
Turn the trousers inside out. Fold each leg to its mark and check that the side and inner seams meet without spiraling. Set the fold lightly if the care label and a hidden pressing test allow. Use a press cloth and avoid leaving an imprint of the raw edge on the outside. On delicate fabrics a folded towel beneath the work may help cushion the seam.
A tapered leg creates a geometry problem: the hem allowance from lower down the leg can be too small to reach around the wider leg above. If the turn-up pulls the sides inward, don't stitch it under tension. A shallower allowance, a properly opened and finished allowance or a separate facing may be needed. Ask a tailor if the change would remove cloth you want to preserve.
Catch little, check often
Thread a fine needle with a thread that blends into the outside cloth. Hide the starting end in the turn-up. Work around the leg, taking a small bite in the allowance and catching just a thread or two of the outer cloth where its construction allows. Keep the thread relaxed as you go. If it draws a continuous groove around the leg, unpick that section and work more loosely.
Turn the leg right side out after a short section. Look in sideways daylight and stretch it only as far as it moves in normal wear. A tiny stitch invisible head-on may make a row of dimples in raking light. Adapt the spacing and thread tension before completing the rest of the leg.
Finish without trapping your future self
Secure the end inside the allowance, remove the temporary basting and try both legs again. Keep a note of where the permanent stitching begins. Later you can release individual stitches from inside with a seam ripper pointed away from the outer cloth. Work slowly around seam intersections. If the old fold has acquired a pale wear line, letting out the hem may reveal it even after careful pressing.
 Repair bench
 Repair bench
 Fit room